The Wooded White Cottage Journal
Read now
Preserving Corn This Summer Season


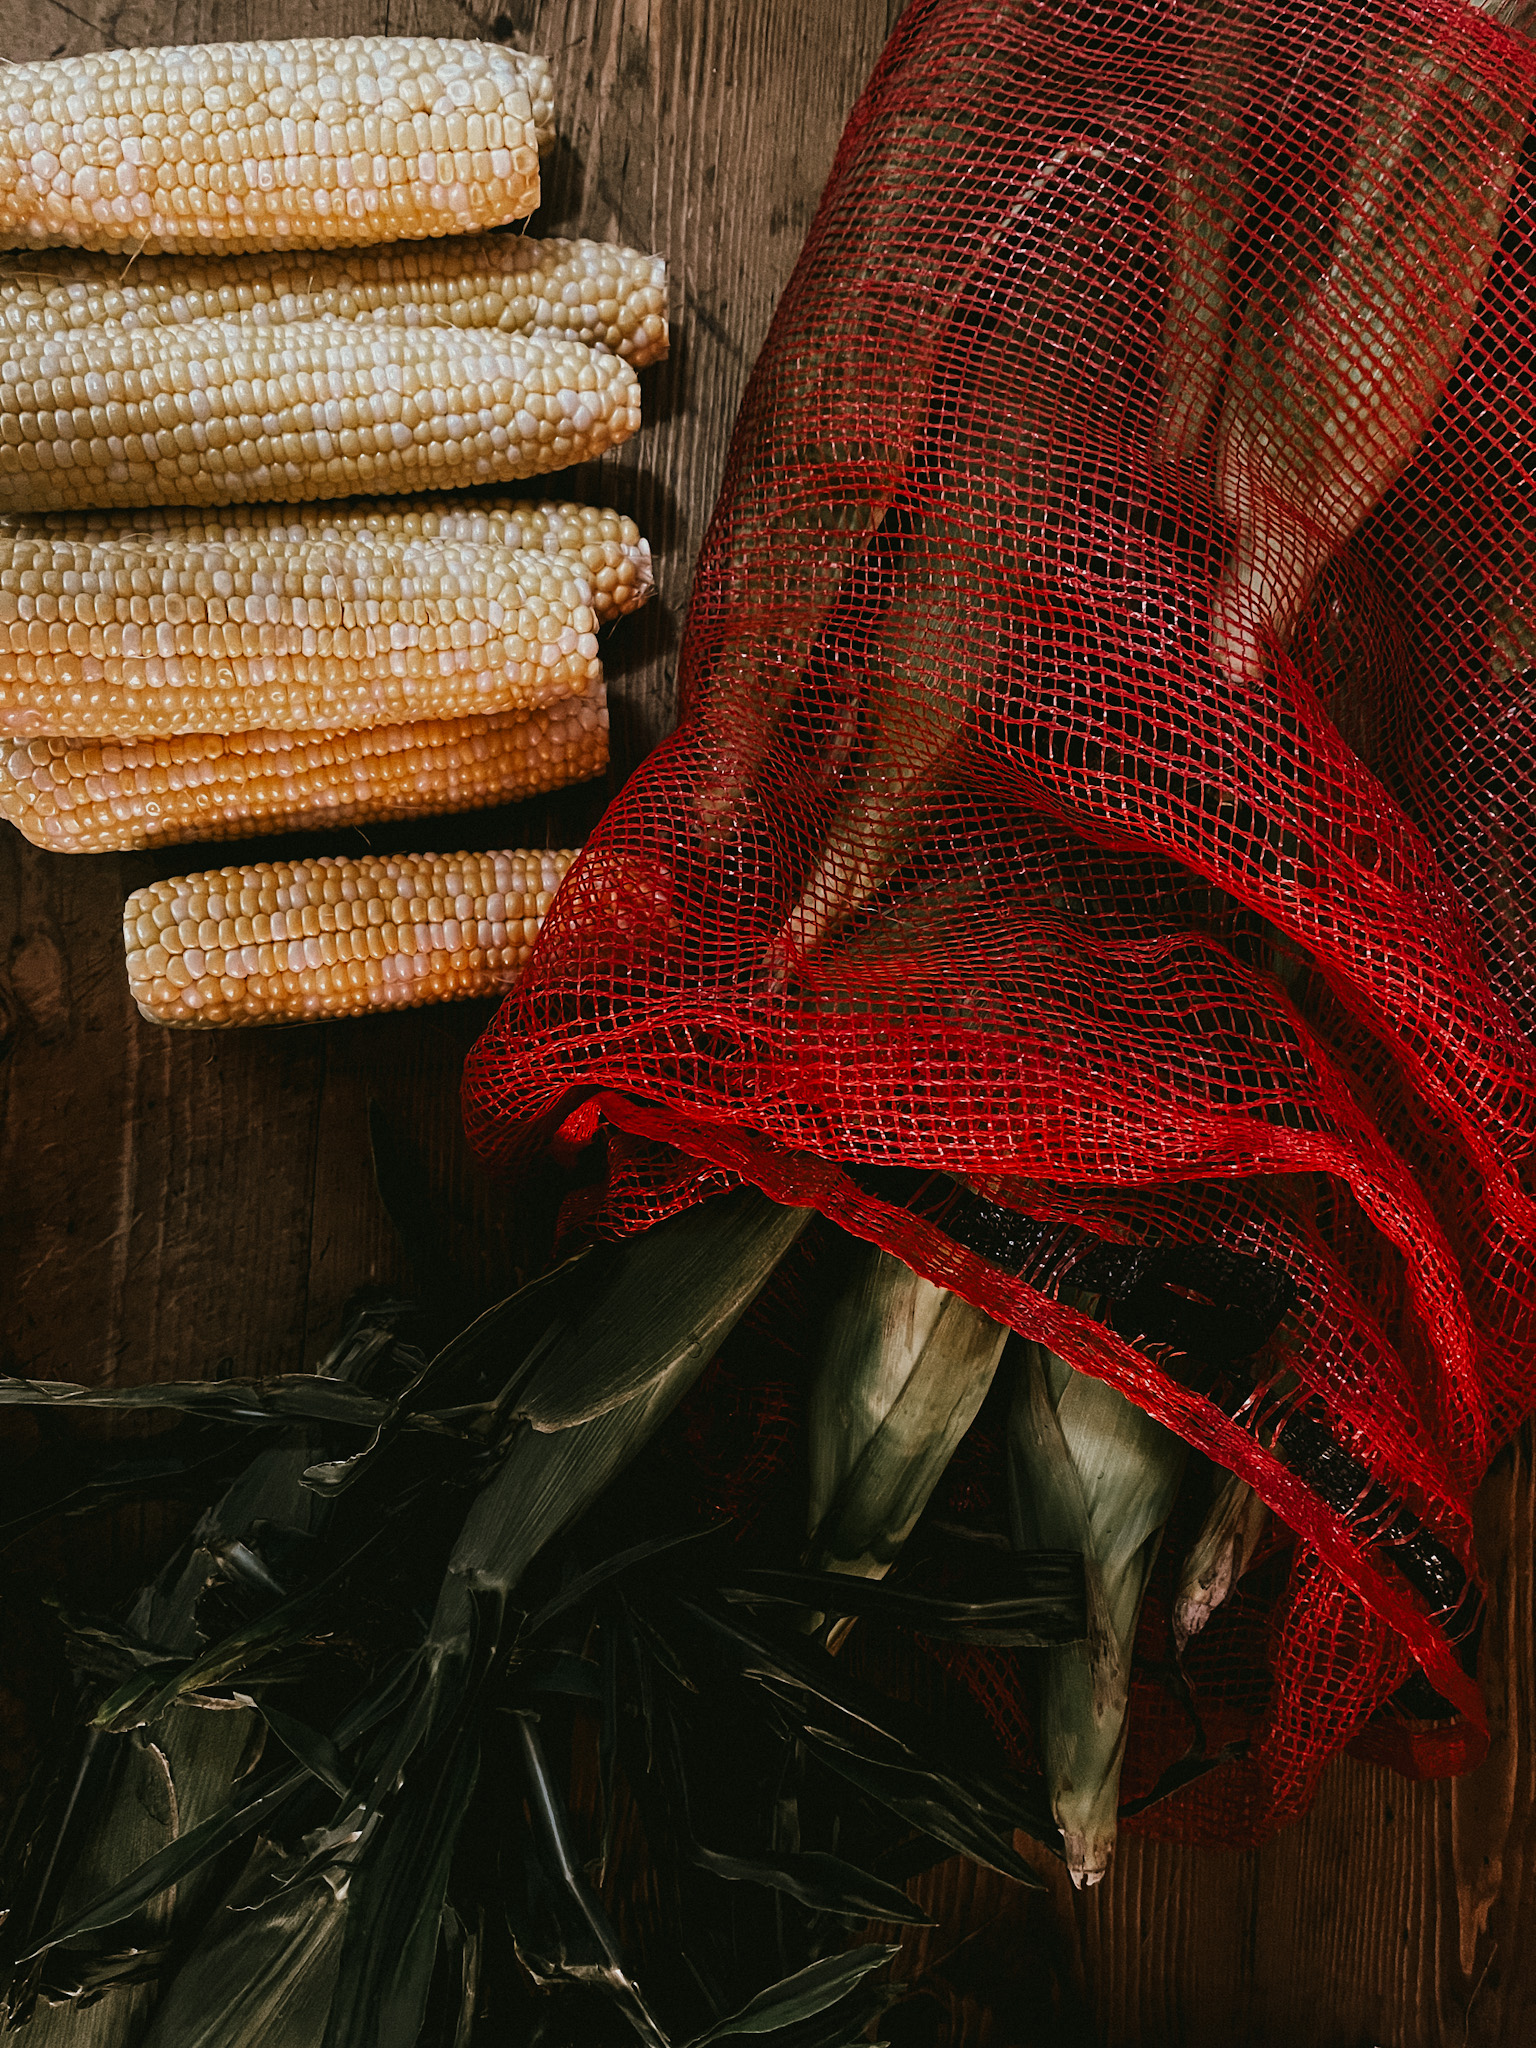
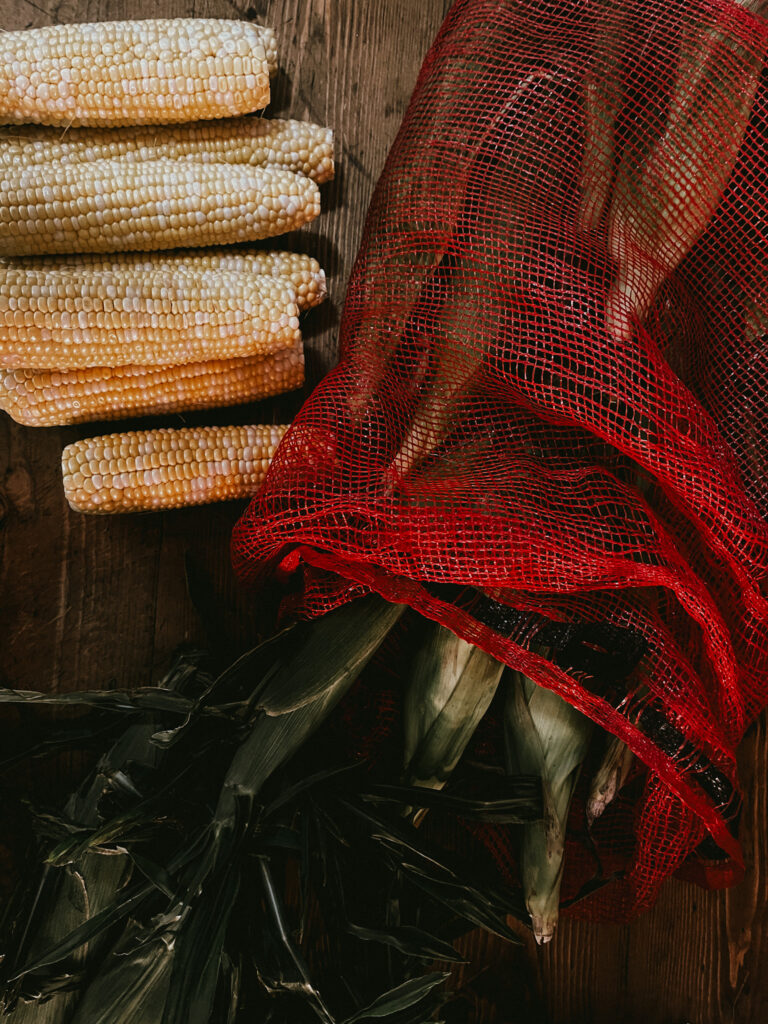
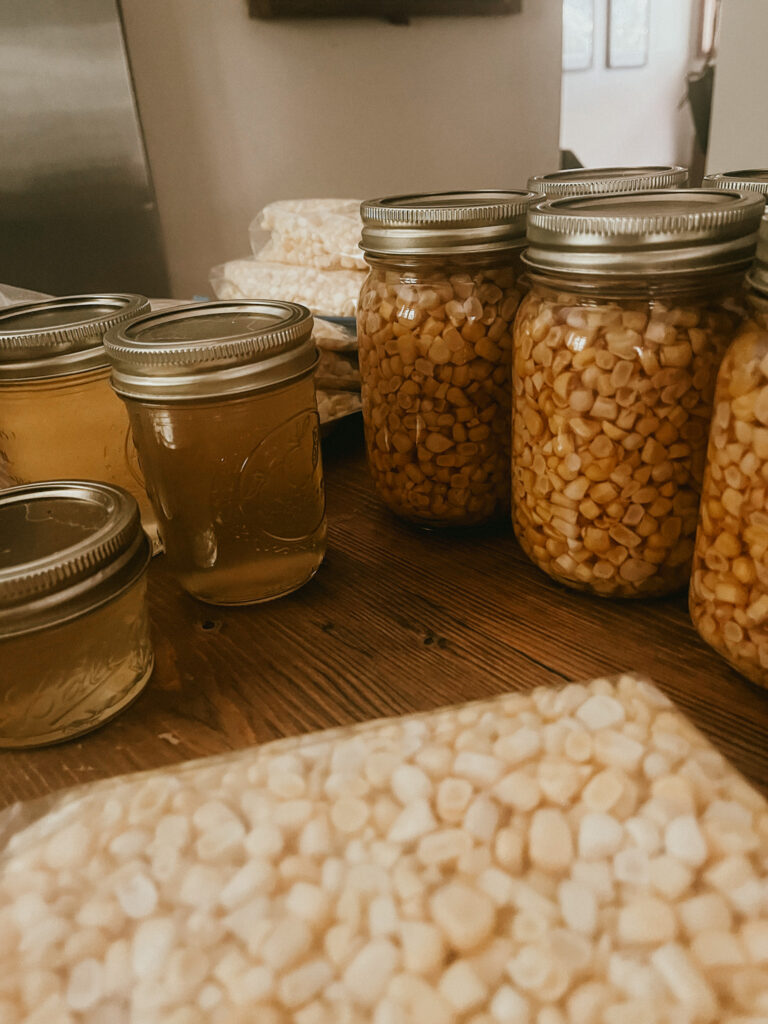
Summer at the Wooded White Cottage brings a bounty of fresh, sweet corn. Whether you’re enjoying it at a backyard barbecue or as a side dish at dinner, there’s nothing like the taste of fresh corn. But why limit this enjoyment to just the summer months? Preserving corn can help you savor that summer sweetness all year round. Today, we’re sharing our favorite methods for freezing corn kernels, freezing corn on the cob, pressure canning, and even making corn cob jelly!
Freezing Corn Kernels
Freezing corn kernels is a simple and effective way to preserve the flavor of summer corn. Here’s how:
- Husk and Clean: Start by removing the husks and silks from the corn.
- Blanch: Blanch the corn in boiling water for 4 minutes. This stops the enzymes that cause spoilage.
- Cool: Quickly cool the corn in ice water for the same amount of time it was blanched.
- Cut Kernels: Cut the kernels off the cob, being careful not to cut too deep.
- Package: Place the kernels in freezer bags or containers, removing as much air as possible.
- Freeze: Label with the date and freeze for up to a year.
Freezing Corn on the Cob
Freezing corn on the cob lets you enjoy that classic taste and texture. Here’s the method:
- Husk and Clean: Remove the husks and silks from the corn.
- Blanch: Blanch small ears for 7 minutes, medium ears for 9 minutes, and large ears for 11 minutes.
- Cool: Quickly cool the corn in ice water for the same amount of time it was blanched.
- Package: Place the ears in freezer bags, removing as much air as possible.
- Freeze: Label with the date and freeze for up to a year.

Pressure Canning Corn
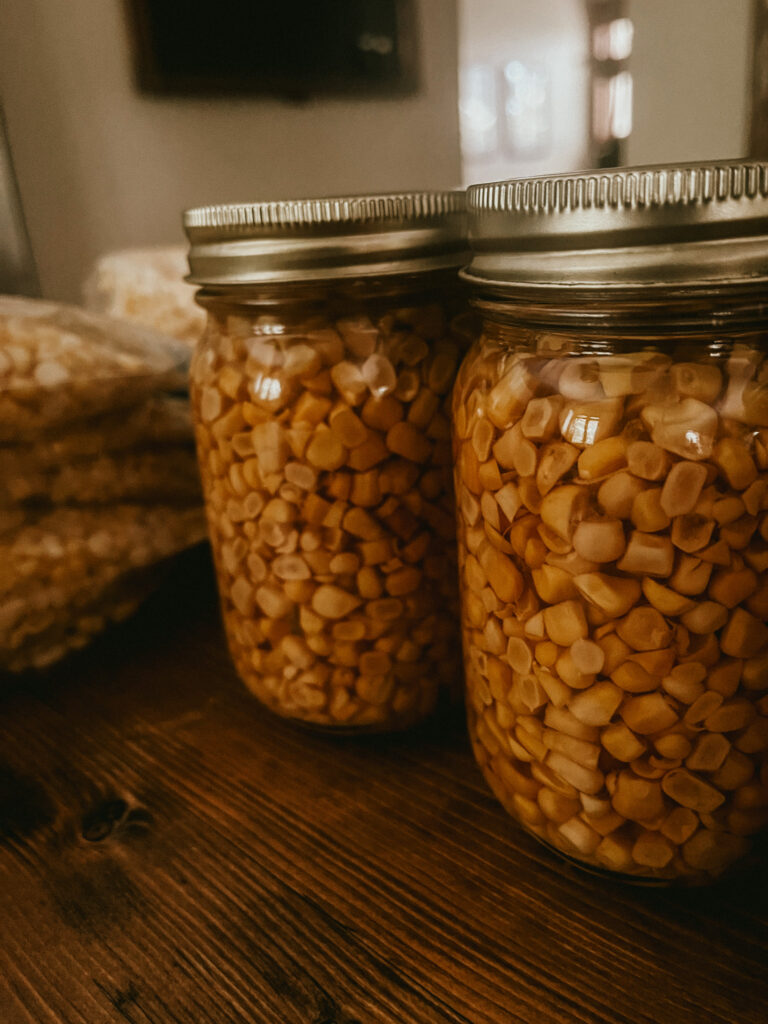
For long-term storage without the need for a freezer, pressure canning is an excellent option. You’ll need a digital pressure canner like this one.
Affiliate Disclaimer: As an Amazon Associate, we earn from qualifying purchases.
Here’s the process:
- Husk and Clean: Remove the husks and silks from the corn.
- Cut Kernels: Cut the kernels from the cob.
- Prepare Jars: Sterilize your canning jars and lids.
- Pack Jars: Pack the corn kernels into the jars, leaving 1-inch headspace.
- Add Salt: Add 1 teaspoon of salt per quart jar, if desired.
- Fill Jars: Fill the jars with boiling water, maintaining the 1-inch headspace.
- Remove Air Bubbles: Remove any air bubbles and adjust the headspace if necessary.
- Seal Jars: Wipe the rims of the jars, apply the lids, and screw on the bands.
- Process: Process the jars in your digital pressure canner according to the manufacturer’s instructions, usually at 10 pounds pressure for 55 minutes for pints and 85 minutes for quarts.
- Cool: Allow the canner to cool and depressurize before removing the jars.
Making Corn Cob Jelly
Don’t throw away those corn cobs just yet! You can use them to make a unique and delicious corn cob jelly.
- Gather Supplies:
- 12 large corn cobs (kernels removed)
- 2 quarts water
- 1 package powdered pectin
- 4 cups sugar
- Boil Cobs: Boil the cobs in water for 30 minutes, then remove the cobs and strain the liquid through a cheesecloth.
- Prepare Jelly: Return the liquid to the pot, add the pectin, and bring to a boil. Add the sugar and bring to a rolling boil for 1-2 minutes.
- Jar Jelly: Pour the jelly into sterilized jars, leaving 1/4 inch headspace.
- Seal and Process: Apply the lids and process in a boiling water bath for 5 minutes.

Enjoying Your Preserved Corn
Now you’re ready to enjoy the taste of summer corn all year long. Whether you’re pulling out a bag of frozen kernels for a winter soup, heating up a frozen cob for a quick side dish, opening a jar of canned corn for a hearty stew, or spreading corn cob jelly on your morning toast, preserving corn extends the harvest and brings a little bit of summer to every season.
Happy preserving from the Wooded White Cottage!
Comments will load here
Be the first to comment